
Use a Mailpipe email to make a Google account (and get into Google Cloud)
You do not need a Gmail address to have a Google account. Here is how to create one with your own domain email, then use it for Google Cloud, Sign in with Google, and the rest.
Here is a thing almost nobody tells you: a Google account and a Gmail address are not the same thing. You can have the whole Google account, Google Cloud, Drive, Meet, Calendar, YouTube, and the little “Sign in with Google” button that half the internet uses, without ever creating a name@gmail.com address. You can use your own email instead. Something like you@yourdomain.com that lives on Mailpipe.
If you build things, this matters more than it sounds. Every new project starts with a domain, and the very first thing you need on that domain is email, because you cannot sign up for Supabase or Vercel or Stripe without one. Once you have that inbox, you can point Google at it and get a real Google account tied to your own brand instead of a throwaway Gmail. Then Google Cloud, the $300 in free credit, and every “log in with Google” flow are yours, under the address you actually want to use.
Let us walk through it. It takes about five minutes.
What you need first
One working email address on a domain you control. If you already have a Mailpipe inbox that can receive mail, like you@yourdomain.com, you are ready. If you do not, spin one up first (add your domain, verify the DNS records, done), then come back. The only requirement is that you can read a message that lands in that inbox, because Google is going to send a code to it.
Step 1: Start the Google account, not the Gmail
Go to accounts.google.com/signup. You will get the familiar “Create a Google Account” screen. Put in your name and hit Next. Do not overthink this part, it is just a name.
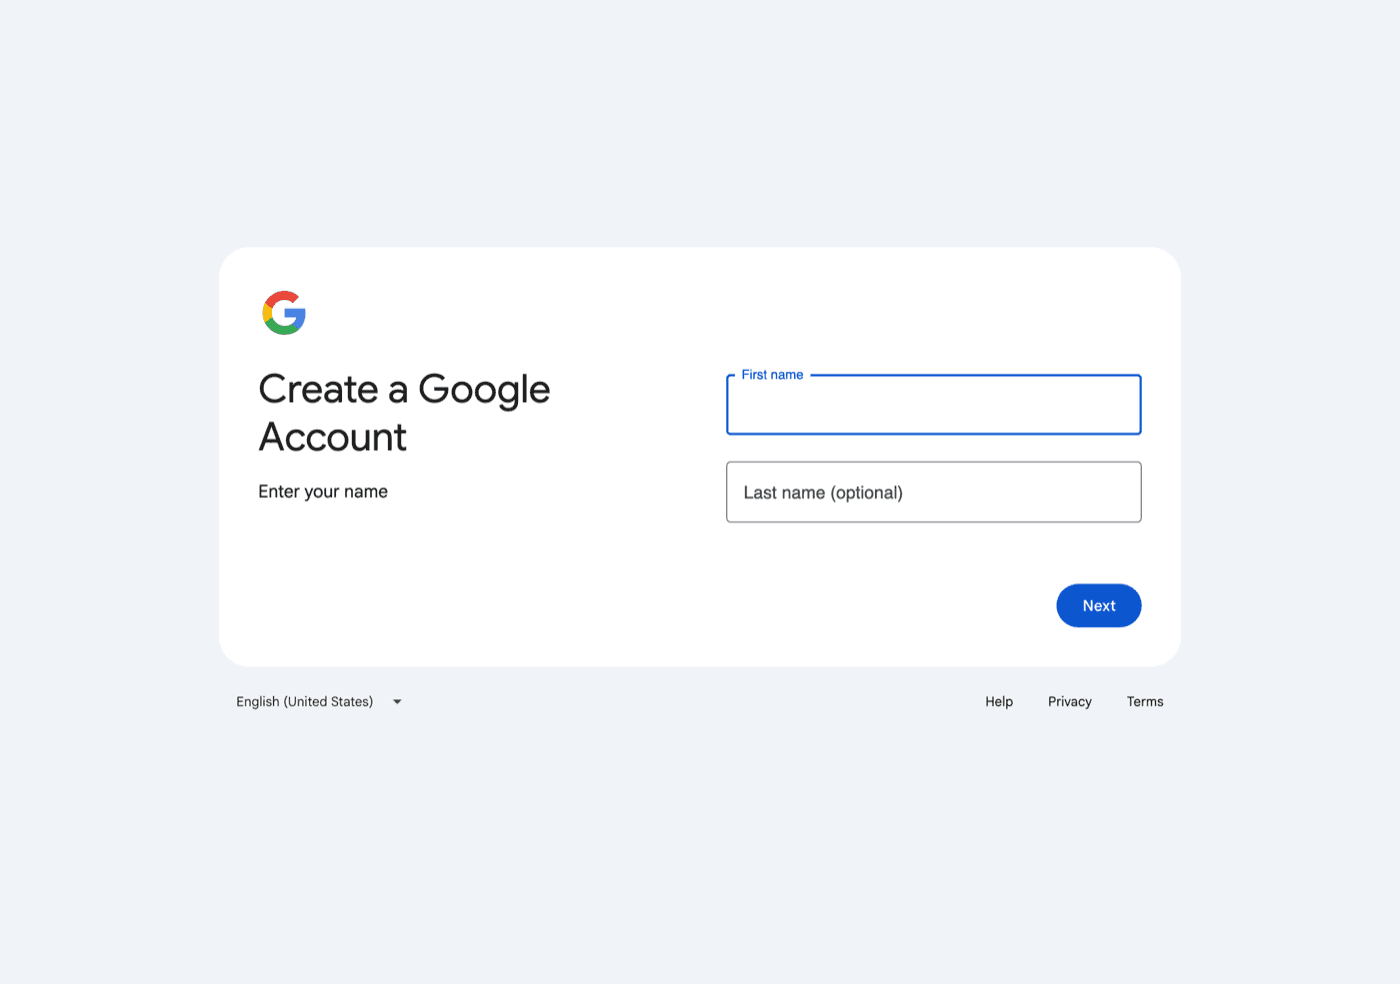
Google will ask for your birthday and gender next. Fill those in and keep going. You are two clicks away from the part that matters.
Step 2: Choose “Use your existing email”
This is the whole trick. Google now shows you a screen titled How you’ll sign in and nudges you to create a brand new Gmail address. Ignore the Gmail box. Look down near the Next button for the small blue link that says Use your existing email, and click it.
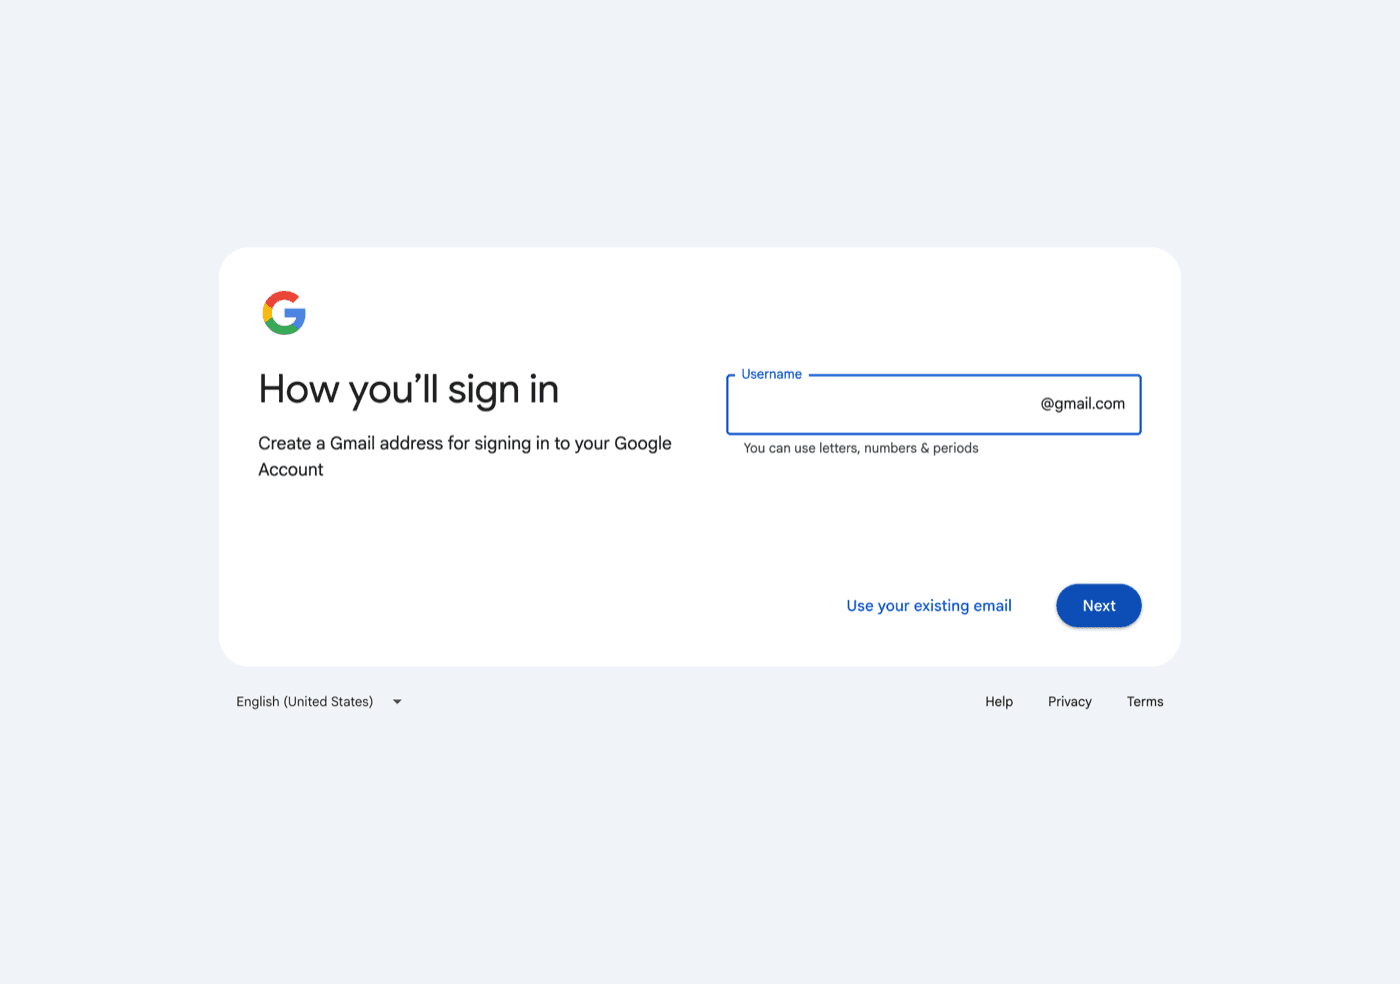
The screen flips. Instead of asking you to invent a Gmail address, it now asks for an email address you already have. Type your Mailpipe address, for example you@yourdomain.com, and continue.
Step 3: Grab the verification code from your inbox
Google needs to prove you actually own that address, so it sends a verification code to it. This is the moment your Mailpipe inbox earns its keep. Open Mailpipe (or, if you have set up forwarding, just check the Gmail you already live in), find the message from Google, and copy the six digit code. Paste it back into Google.
Set a password, agree to the terms, and that is it. You now have a real Google account. The username is your own domain email, not a Gmail. Every Google product treats it exactly like any other account.
Step 4: Walk into Google Cloud
Head to cloud.google.com/free and click Get started for free. Sign in with the account you just made. New accounts get $300 in credit to spend over 90 days, plus an always-free tier on a long list of products. You will need to add a card to verify you are human, but Google does not charge you when the trial ends unless you deliberately upgrade.
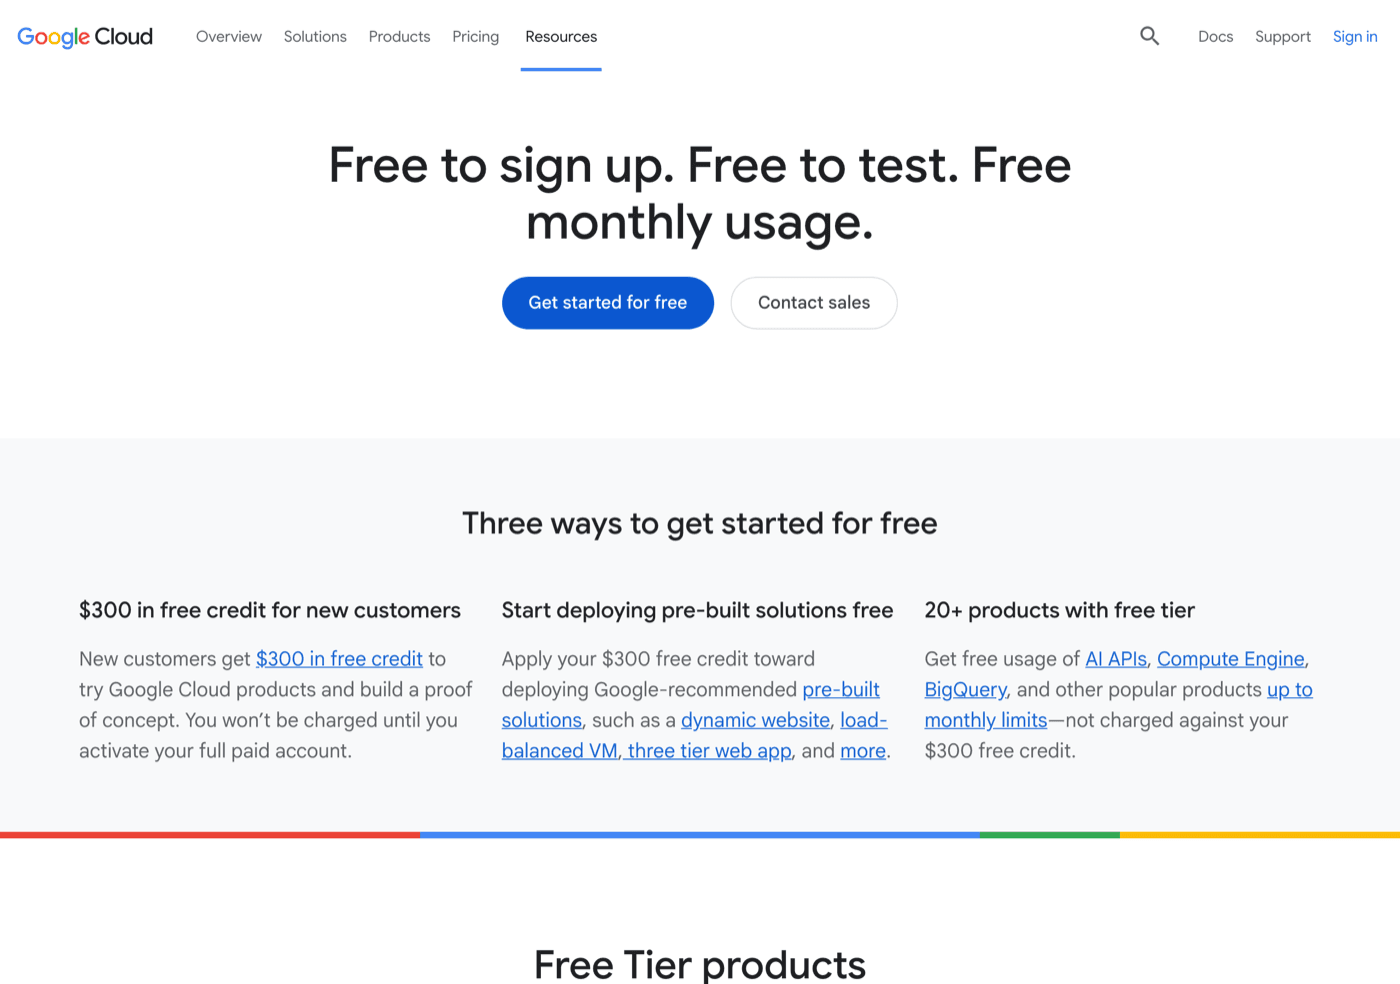
From here you have the full Google Cloud Console. Spin up a project, turn on the APIs you need, generate service credentials, whatever the build calls for. It all sits under your domain identity.
And “Sign in with Google” everywhere else
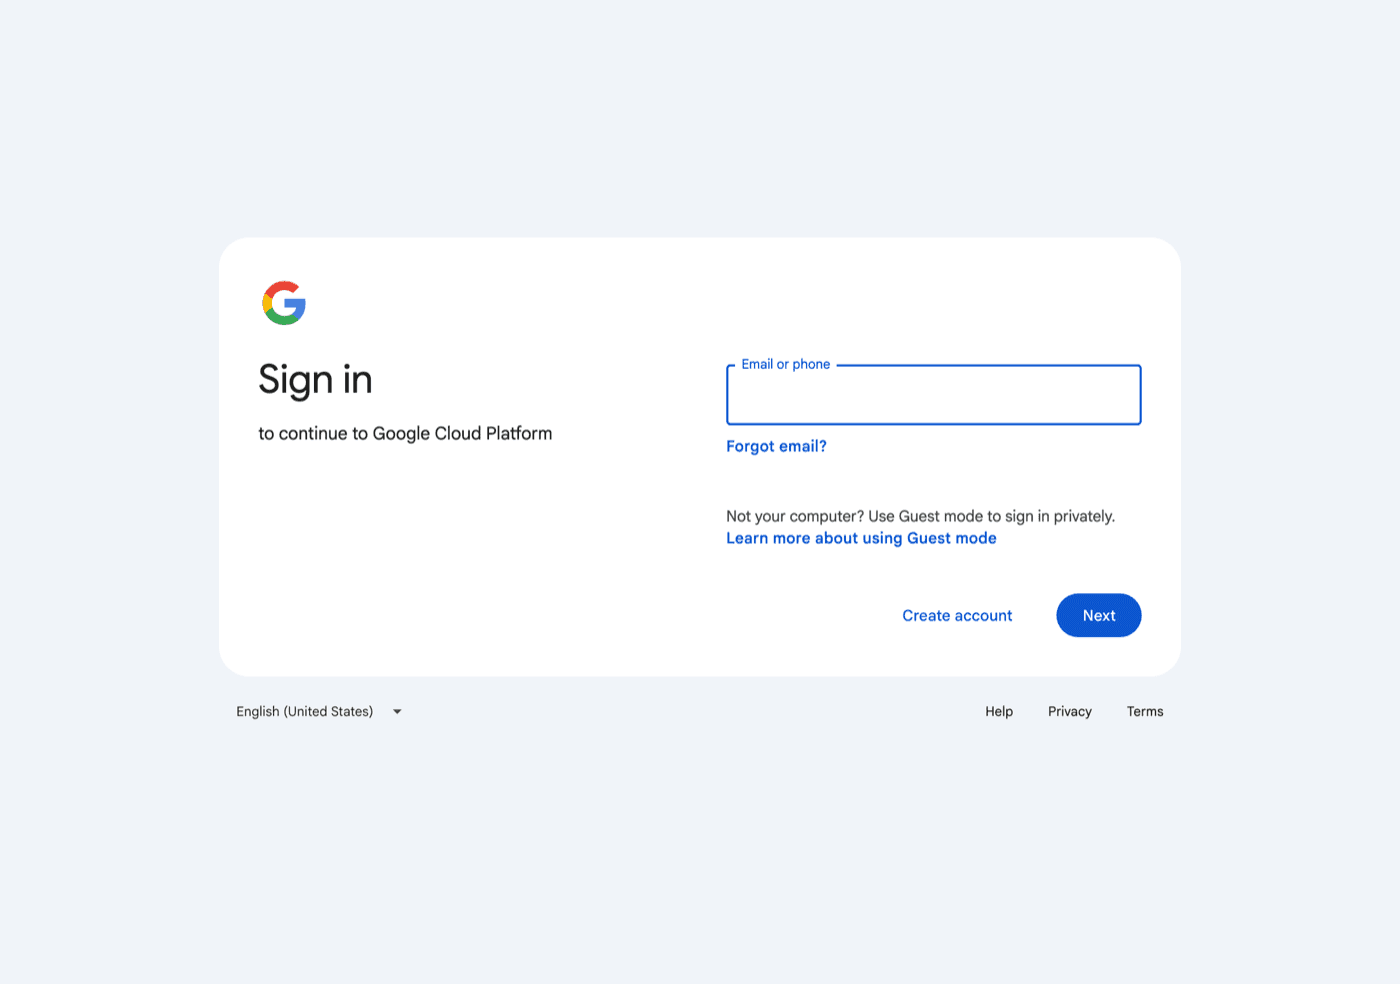
The nice side effect is that your new account works as a Google login across the web. Any app with a “Continue with Google” button, Figma, Notion, Linear, most of your stack, will now let you in with you@yourdomain.com. You get the one-click convenience of social login without handing over a personal Gmail, and every service sees the address that matches your brand.
The honest part
This gets you a free personal Google account, which is genuinely most of what people pay Google Workspace for. Cloud Console, Drive, Meet, Calendar, Sign in with Google, all included, all free. The one thing a personal account does not do is host a mailbox in Gmail on your own domain. That is the single piece Workspace actually charges for.
And that piece is exactly what Mailpipe already handles. Your you@yourdomain.com inbox lives on Mailpipe, sends and receives real mail, and can forward into whatever Gmail you want. So the clean setup is: cancel the Workspace subscription you do not need, keep a free Google account for the rest of Google, and let Mailpipe be the mailbox. One flat price per domain, unlimited inboxes, and the Google login you just created on top.
That is the whole move. A domain, a Mailpipe inbox, and five minutes gets you into Google Cloud without a single Gmail address in sight.
Every domain you own, one inbox.
Domain to inbox in seconds. $14/mo flat, unlimited inboxes.
Start free